Are your kitchen cabinets looking a bit tired? You’re not alone! I’ve helped countless homeowners upgrade kitchen cabinets without emptying their wallets. The good news? You don’t need to tear everything out and start fresh. With a few clever tricks and some weekend work, you can transform your kitchen space completely. Let’s look at some budget-friendly ways to upgrade kitchen cabinets that will make your kitchen look brand new!
Transform Your Kitchen with the Power of Paint
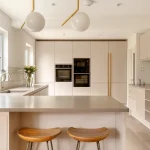
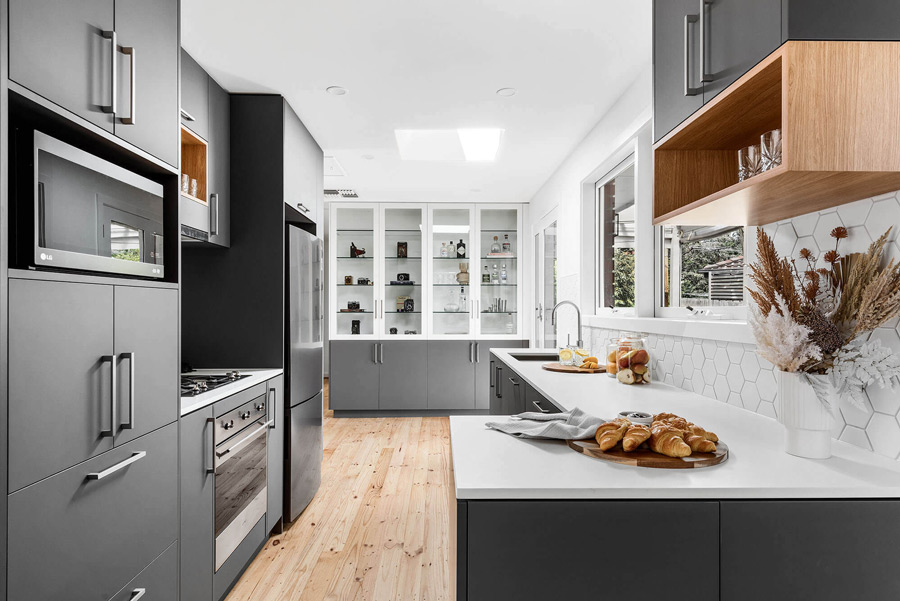
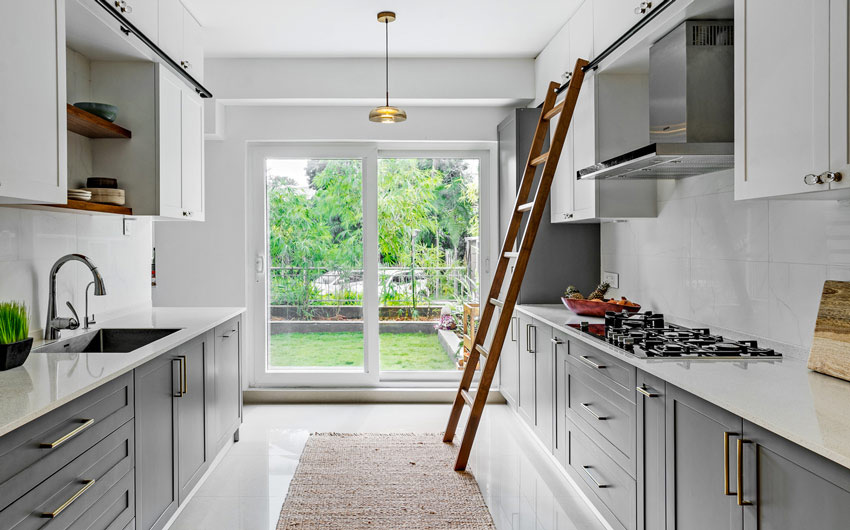
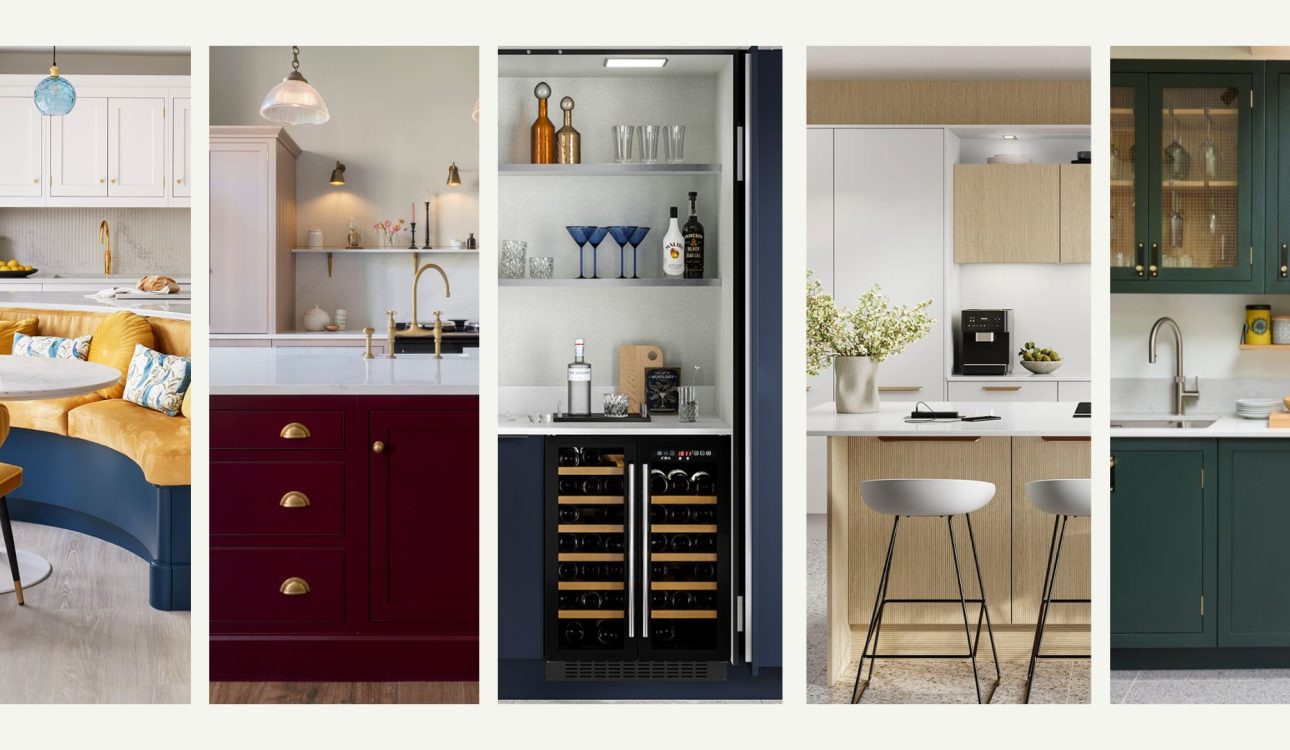
Nothing changes a kitchen faster than a fresh coat of paint. When you upgrade kitchen cabinets with paint, you get maximum impact for minimal cost. White cabinets create a clean, timeless look that brightens any space. But don’t be afraid to try bold colors like navy blue or sage green for a modern touch!
Before painting, make sure to clean your cabinets thoroughly with a degreaser. Then sand lightly, prime, and finally apply your chosen paint. For best results, remove the doors and hardware first. This way, you’ll get smoother coverage and a more professional finish when you upgrade kitchen cabinets.
Essential Cabinet Makeover Tips
Want your cabinet upgrade to look professional? Here are my top tips for success:
- Remove all hardware before painting to ensure clean edges
- Label doors and hardware as you remove them for easy reassembly
- Use a high-quality brush or foam roller for smooth application
- Apply thin coats rather than one thick layer
- Allow proper drying time between coats
Reface Cabinet Doors Without Breaking the Bank
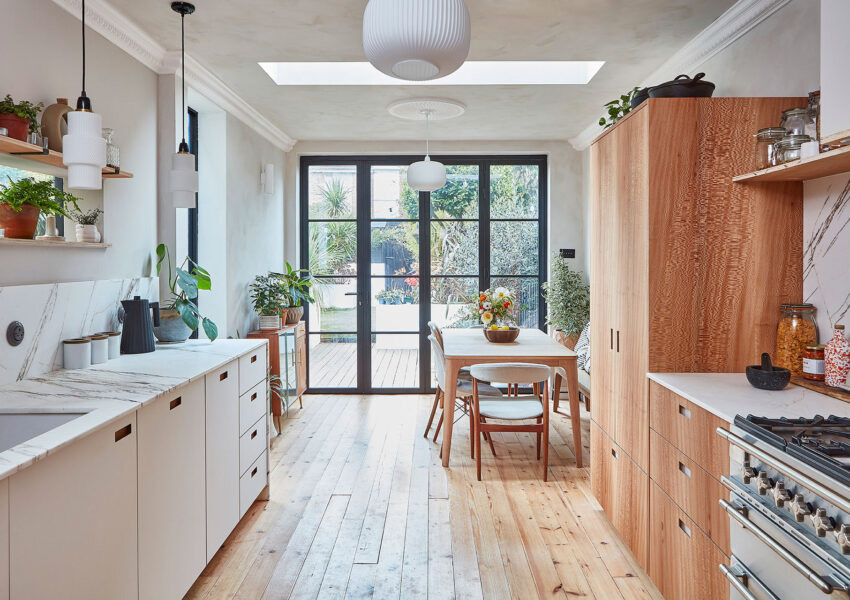
If painting isn’t enough, refacing offers another way to upgrade kitchen cabinets affordably. This means keeping your cabinet boxes but replacing or covering the doors and drawer fronts. Many home improvement stores sell replacement doors that fit standard cabinet sizes.
You can also add trim or molding to flat cabinet doors for a custom look. This simple upgrade gives plain cabinets architectural interest without the cost of full replacements. It’s one of my favorite tricks to upgrade kitchen cabinets because it makes such a dramatic difference for relatively little money.
Hardware and Front Upgrades That Make a Difference
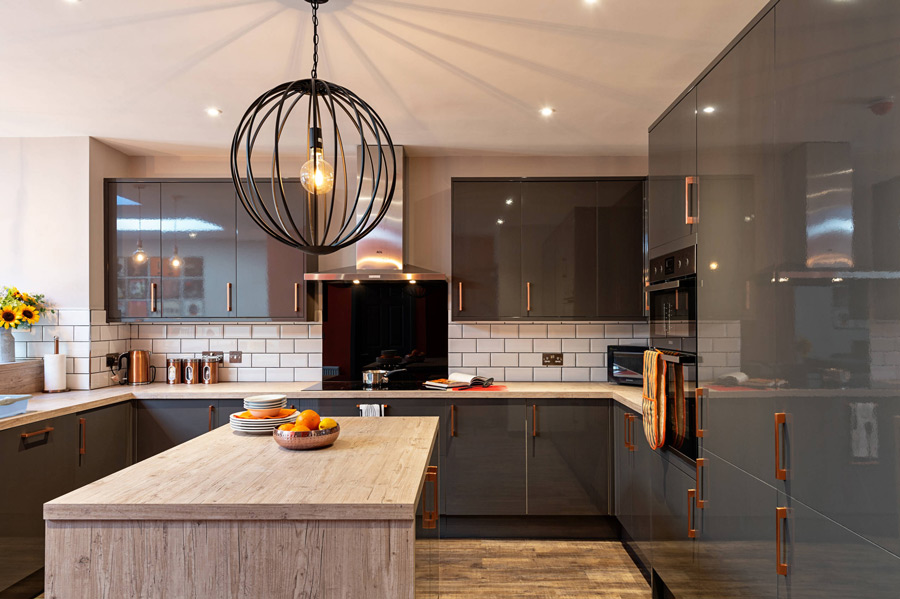
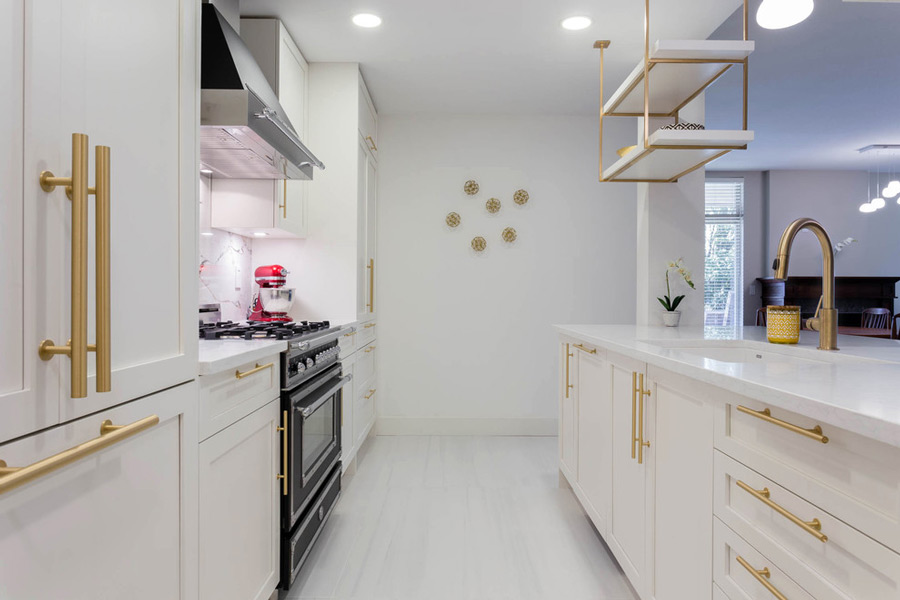
Never underestimate the power of new hardware! Switching out old knobs and pulls is perhaps the easiest way to upgrade kitchen cabinets. Modern brass handles or matte black knobs can instantly update your entire kitchen’s look.
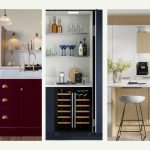
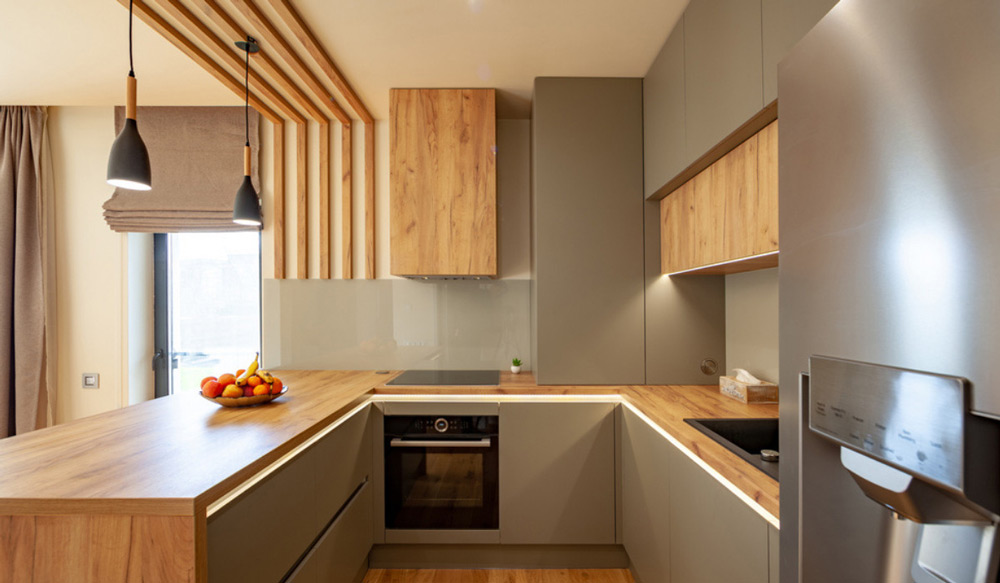
Consider glass inserts for a few cabinet doors to break up a wall of wood. This creates visual interest and gives you a place to display pretty dishes. For added style, install under-cabinet lighting to highlight your countertops and make the whole kitchen feel more custom.
Maximize Storage with Smart Drawer Dividers and Organizer Solutions
Part of any good kitchen cabinet upgrade involves improving functionality, not just looks. Adding pull-out shelves to deep upper cabinets makes everything accessible, even items at the very back. No more digging through stacks of pots and pans!
Drawer dividers keep utensils and gadgets neatly organized. Try installing a spice rack inside a custom cabinet door or adding a slim pull-out pantry in that awkward space between your fridge and wall. These small changes make your kitchen work better for you when you upgrade kitchen cabinets, and they don’t cost much at all.
Create Your Dream Kitchen Remodel on Any Budget
Remember that a complete kitchen cabinet upgrade doesn’t have to happen all at once. Start with the changes that will make the biggest impact, like paint, then move on to hardware and organization. Taking it step by step keeps the project manageable both financially and time-wise.
Don’t forget about your countertops when planning your cabinet upgrade. If replacing them isn’t in your budget right now, consider temporary solutions like countertop paint kits or peel-and-stick coverings. These affordable options can coordinate with your newly upgraded kitchen cabinets while you save for permanent replacements.
With these simple changes, you can upgrade kitchen cabinets without spending a fortune. The key is focusing on high-impact changes that transform both the look and function of your kitchen. Happy renovating!
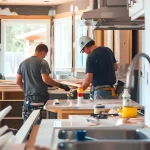
When you need an expert carpenter to work on your existing cabinets to upgrade them, you call us! With our expertise, we can enchance your storage spage without the usual expenses.
For wood surfaces, opt for high-quality acrylic enamel or alkyd paint. These options resist stains and clean easily. Always start with proper prep work: clean thoroughly, sand lightly, and apply a bonding primer. Several thin coats will provide better durability than one thick layer. The right paint makes your update look professional for years.
How much should I budget for a complete makeover including paint and hardware?
For a typical space with 15-20 doors, budget $200-$400 for quality paint, primer, and supplies. New hardware ranges from $2-$15 per piece, totaling $50-$300 depending on your selection. Add $100 for organizational items. DIY labor saves substantially. The total investment? Around $350-$800 for a complete transformation.
Is refacing something I can do myself or should I hire a professional?
facing is definitely doable for homeowners with basic DIY skills. Measure carefully before ordering materials. Take your time removing old surfaces. Work methodically, one door at a time. Watch tutorial videos for specific techniques. Save $1,000+ by handling it yourself, but hire help if precision cutting or complex installations make you nervous.
How do I choose hardware that won't look outdated in a few years?
Select timeless hardware by focusing on clean lines and classic finishes like brushed nickel or matte black. Avoid ultra-trendy styles. Consider your home’s overall aesthetic—modern, farmhouse, or traditional. Bring home samples before buying everything. Quality matters; solid metal pieces outlast cheaper options and maintain their appearance longer.
How long will a full upgrade project take for an average homeowner?
Most homeowners complete a full upgrade over 2-3 weekends. The first weekend: removing doors and hardware, cleaning, and priming. Second weekend: painting (allowing proper drying time). Final weekend: reinstalling everything and adding organizational elements. Working in stages keeps the process manageable while maintaining your household’s functionality throughout.